
Romantic Crepe Paper Flowers
DIY Romantic Crepe Paper Flowers — Only Ten Steps!
Check out the quick tutorial video to get started!

Materials Needed:
Crepe Paper - I used Lia Griffith’s doubled sided paper, to add extra depth to the flowers. The ombré of pink made these look all the more realistic!
Pencil
Eraser - Because let’s face it, mistakes will be made
Scissors
Black Crepe Paper - I used a roll of streamers for this part, but really as long as you can create long strips anything goes!
Old Paintbrush - It will be used with glue
Mod Podge - or other wet glue would be fine
Styrofoam Balls - about the size of a quarter
Printer Paper - this is for making your stencils

Step One
Gather these materials to start creating the pistil of the flower

Step Two
Cover a ball in black crepe paper lightly dabbing the glue both below, and on top of the paper. Dabbing helps prevent it from tearing.

Step Three
Fold the black crepe paper accordion style, and repeatedly cut 3/4 of the way through it, making some fringe.

Step Four
Start to glue the fringe around the ball so all the fringe is facing one direction. This will be the center of our flower.

Step Five
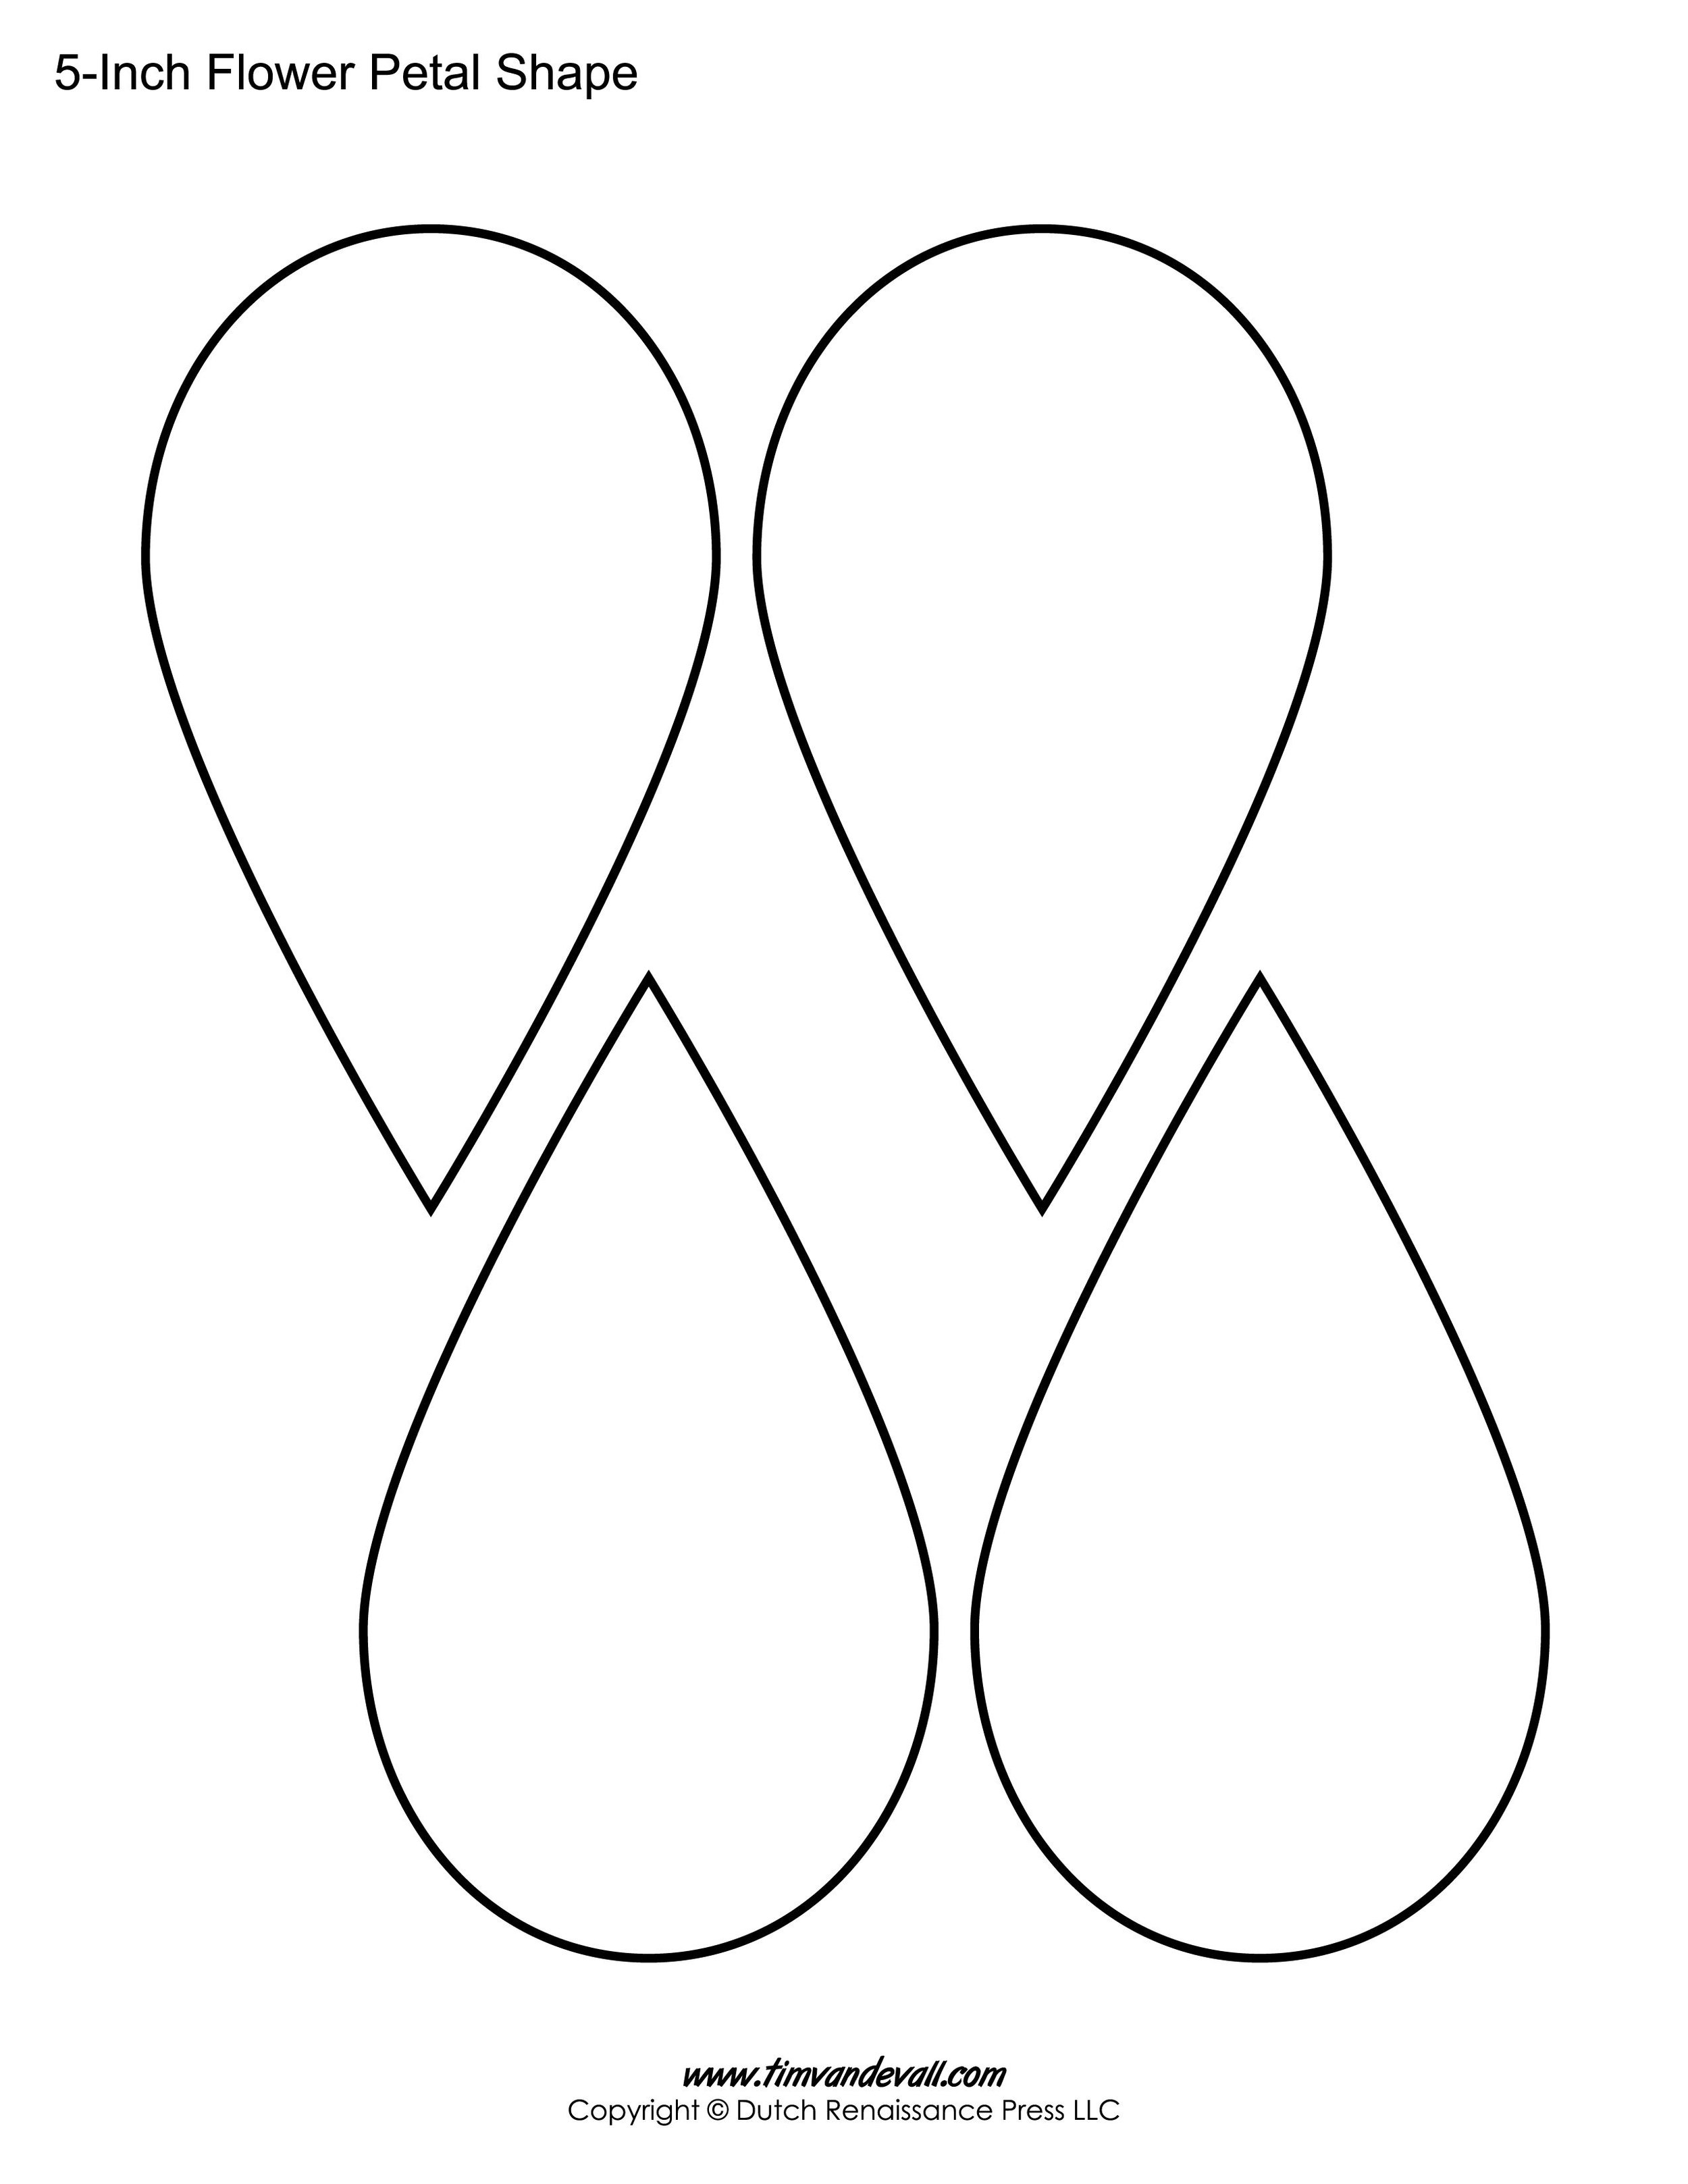
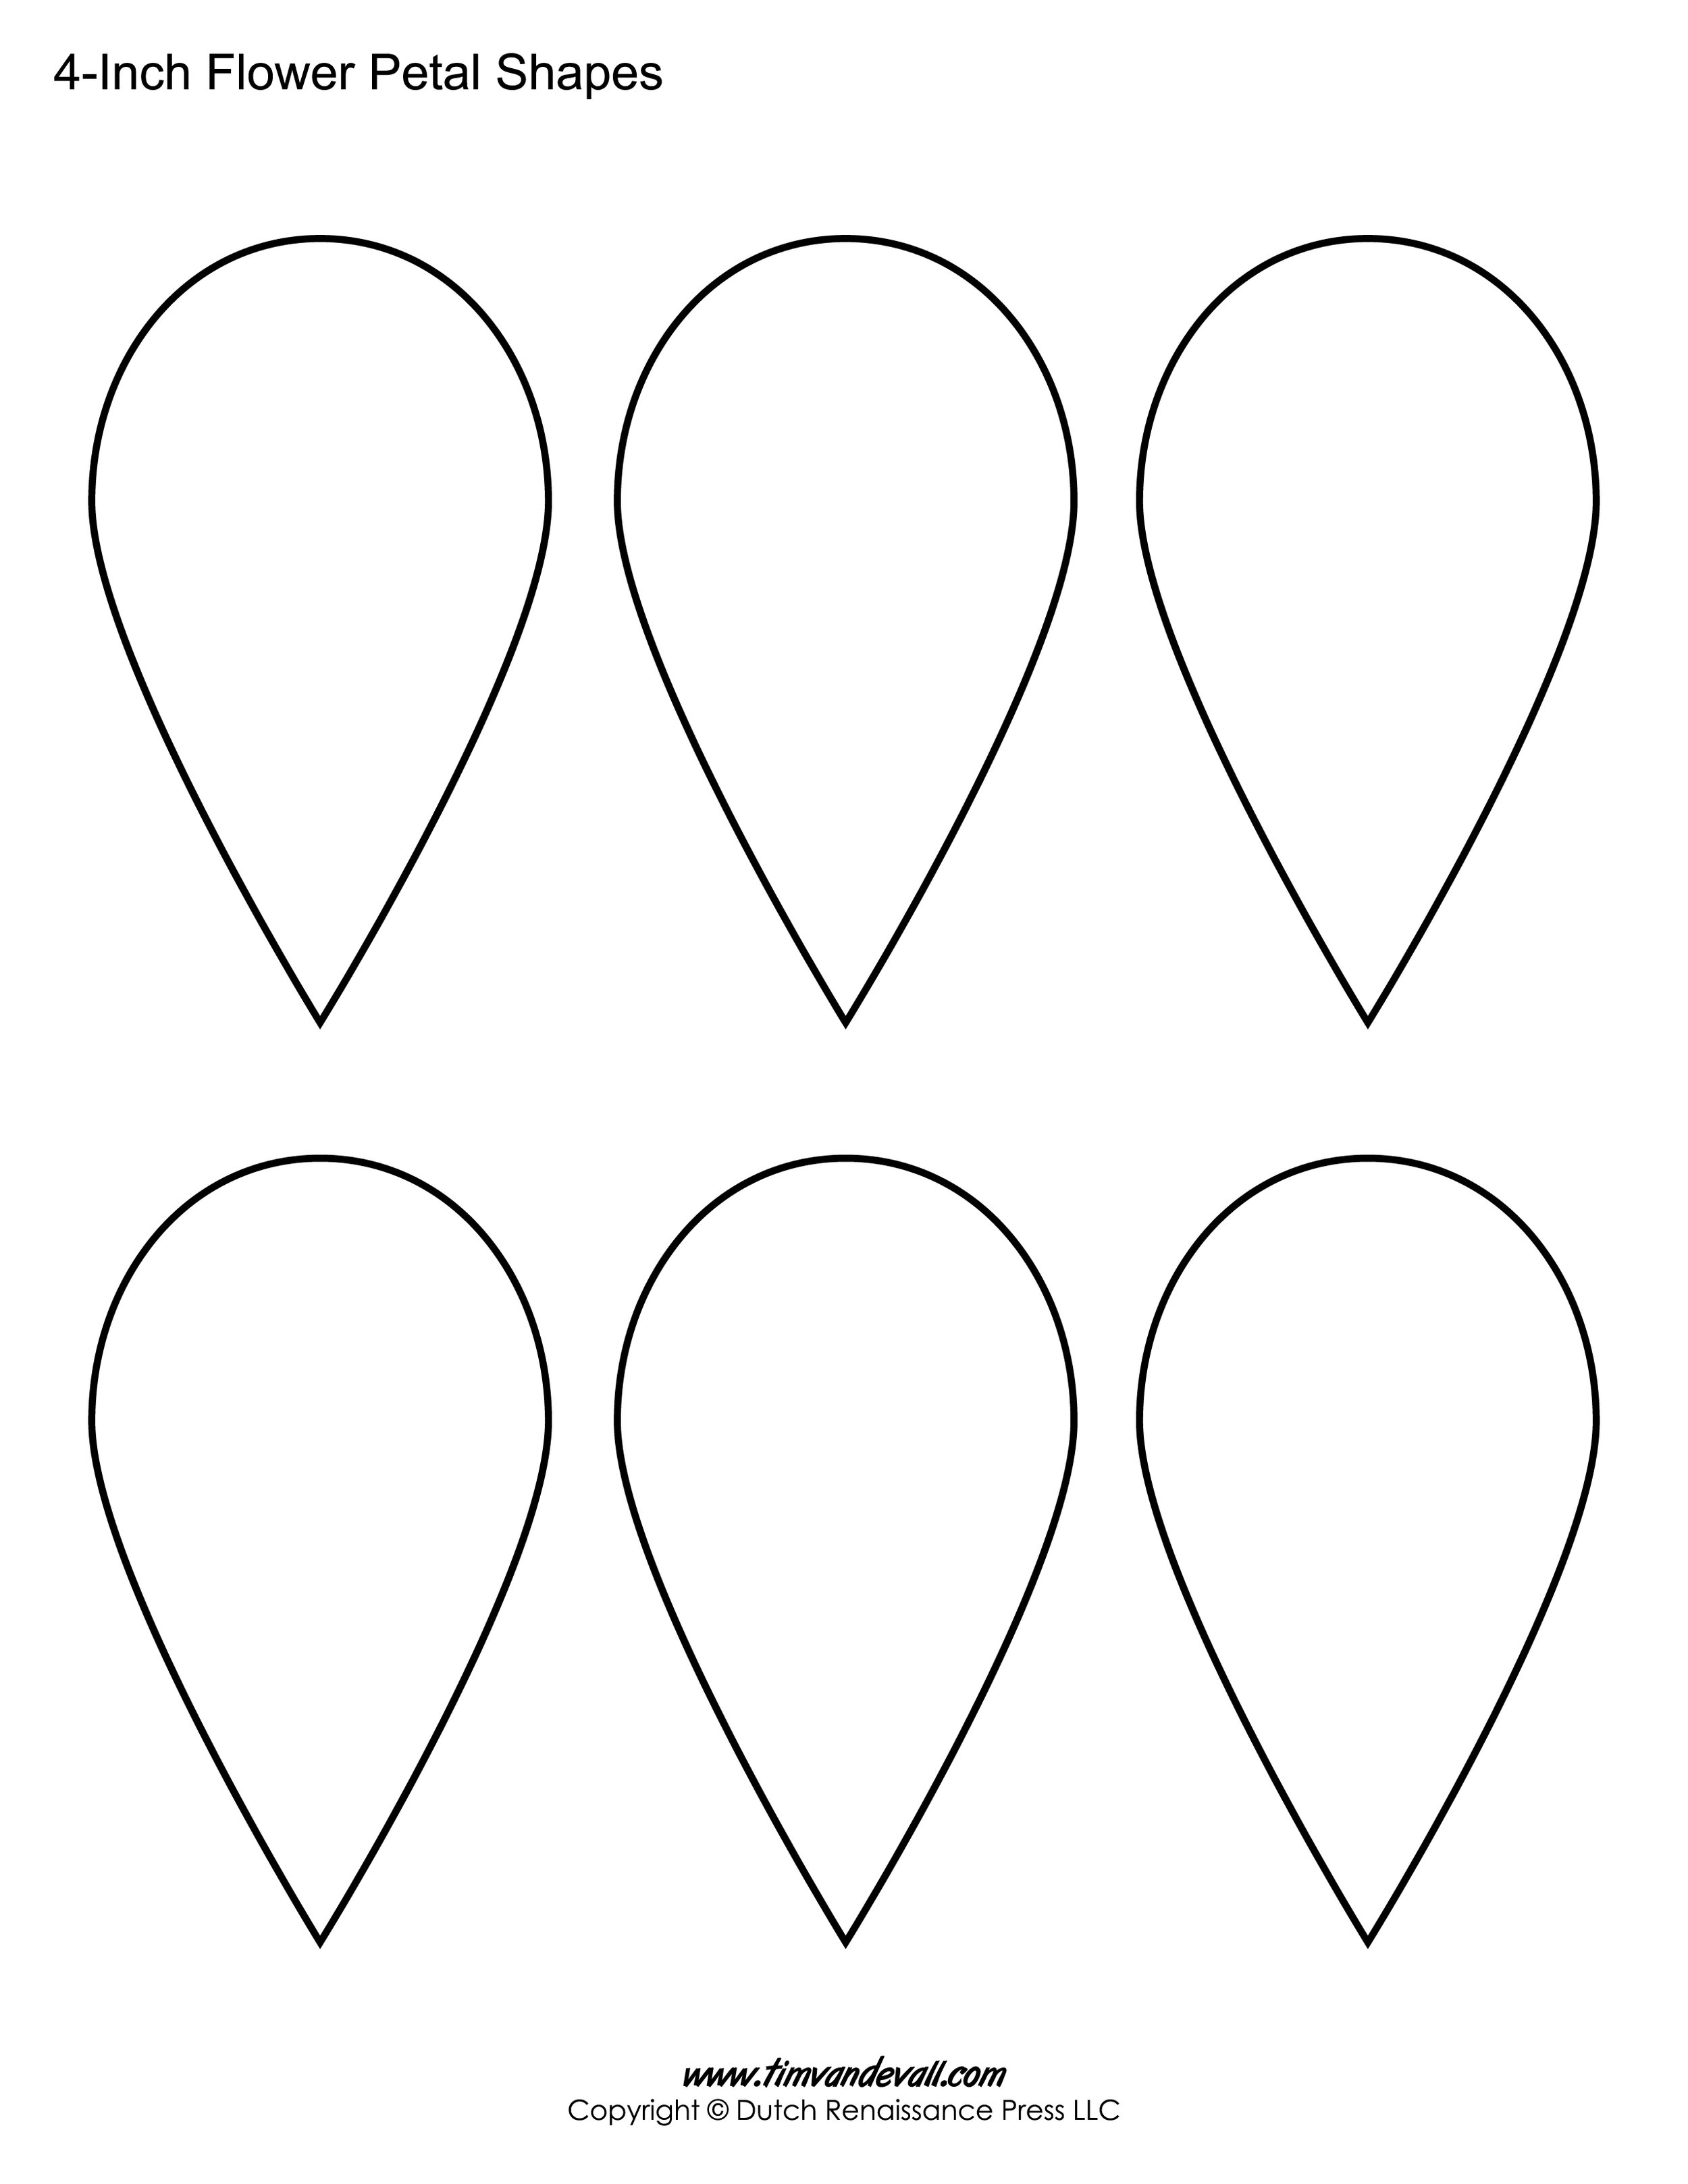
It’s stencil time! Below are some printouts of petals - but they don’t have to be identical. You’ll want 3 small, and 6 larger petals for each flower.
Step Six
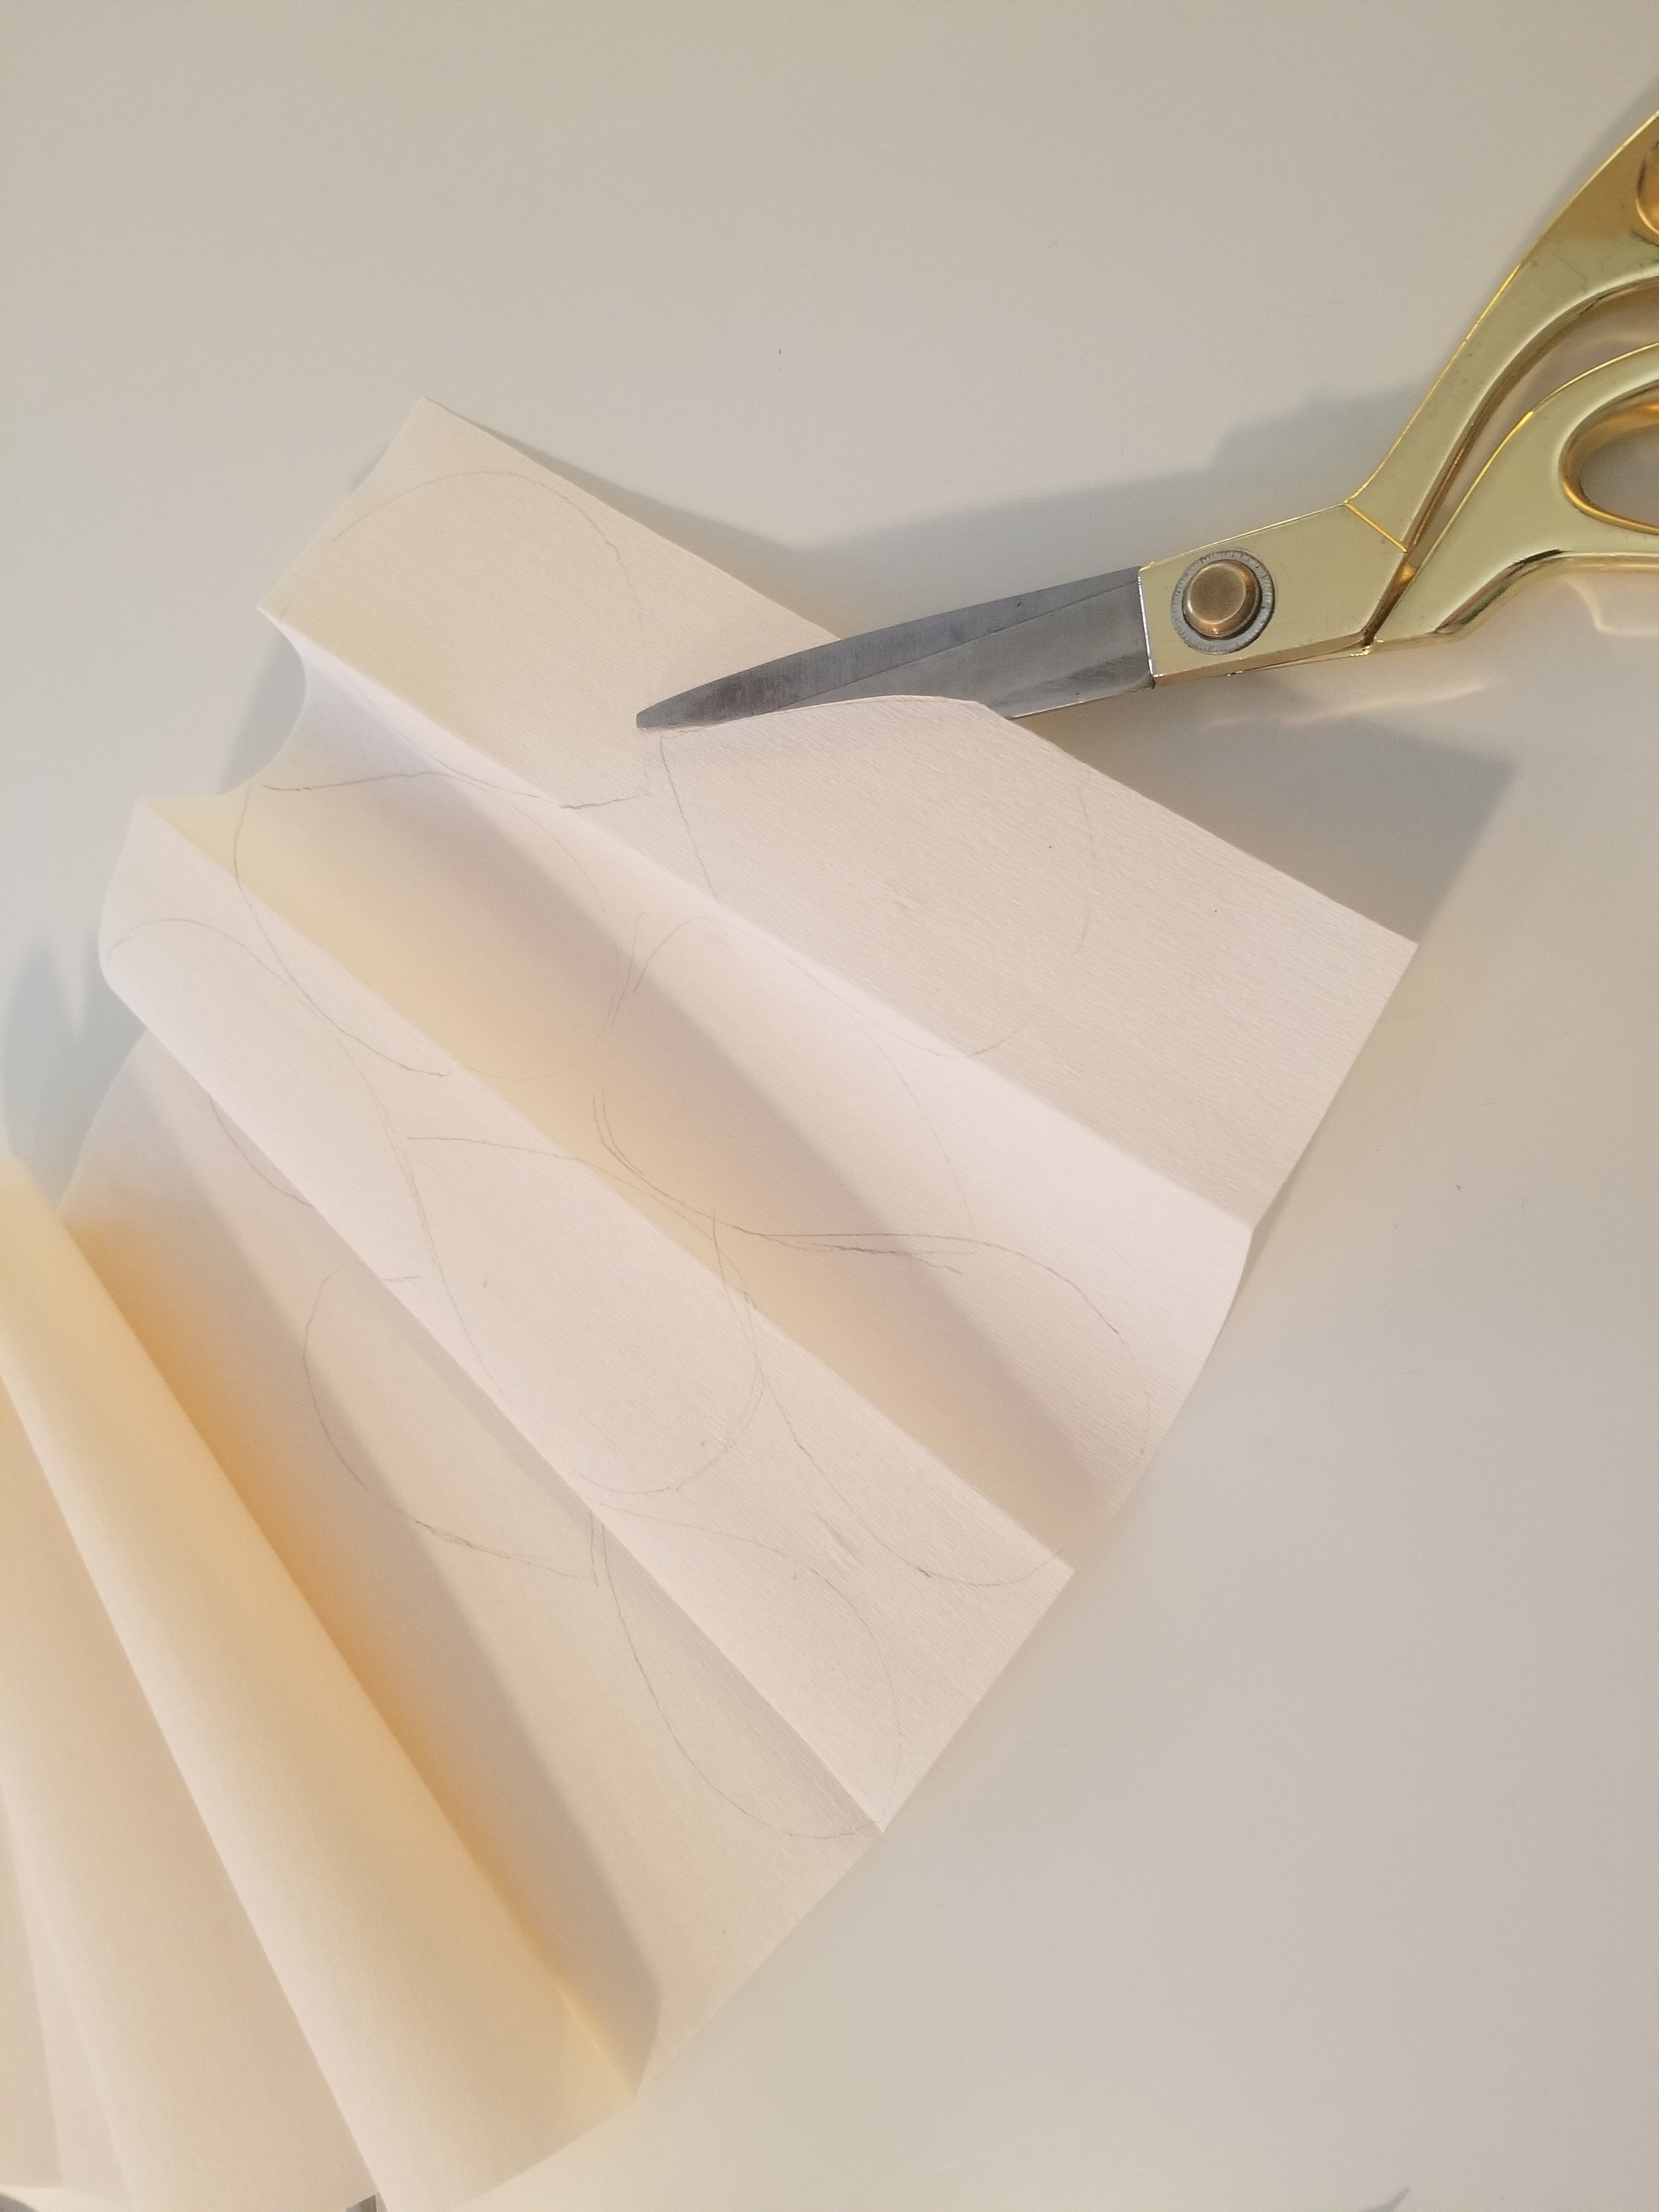
Make sure when you cut out your petals that the lines in the crepe paper match up with the symmetry of the petal! This is an important step for later.

Step Seven
Petal to the metal! I found it was easiest to prop the pistil (fringe down) on top of a bottle to work and let it dry. First, you’ll want to glue the 3 small petals onto the pistil, equidistant from each other.

Step Eight
Let these petals dry - and if you’re doing more than one flower, repeat steps up to here on as many as you’d like.

Step Nine
Once the first 3 petals are dry, you’re going to glue the three larger ones in the spaces in between.
Rinse and repeat! Let those dry, and add your last three in between the spaces of the previous petals.

Step Ten
Now that everything is dry, take the tip of each petal and gently stretch the paper apart. The crepe paper is slightly elastic, so doing this will create a wavy edge to the flowers so they look more realistic.

Ta-Da!
Coupling these flowers with some floral covered books really finishes the look.
These flowers are great for the wintry spring that’s coming, adding romance to your Valentine’s Day, and sprinkling around your dining table for a lovely centerpiece.